| Preparation |
 1. Ignore steps 1 & 2 if you are using a removable bottom cake pan. Line a 8" x 3.75" rectangle baking pan with aluminium foil to cover along the short side of a rectangle pan.
|
 2. Line another piece of aluminium foil to cover along the long side of a rectangle pan.
|
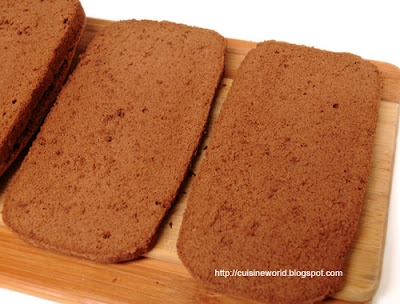 3. Cut 2 layers of cake (about 0.5-inch thick each) from the cake base.
|
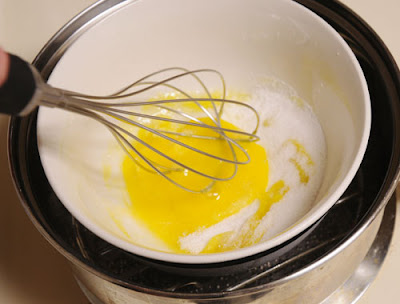 4. Place a round cake rack into a right size of stock pot. Fill pot with water about 1-inch above the rack. Bring water to a boil. Reduce heat to medium. Get a glass bowl that can fit into the pot. Put the yolks and castor sugar in the bowl. Put the bowl on the rack and whisk until yolks turn pale yellow and creamy. Turn off the heat. Remove bowl from the pot.
|
 5. Put mascarpone cheese and cream cheese in a large mixing bowl. Simply whisk to soften cheese.
|
 6. Mix some cheese mixture into the creamy yolk mixture in step 4.
|
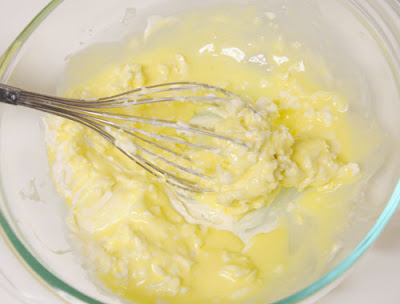 7. Pour all the yolk mixture to mix with the cheese mixture in mixing bowl.
|
 8. Keep whisking and mixing just until mixture turn smooth and no lumps remain. Do not overmix.
|
 9. Stir in 1½ TBSP to 2½ TBSP strong coffee and 1 TBSP to 1½ TBSP preferred wine.
|
 10. Stir until mixture is well combined. Set aside yolk mixture.
|
 11. Keep whipping cream in the refrigerator until ready to use. Prepare whipping cream and powdered sugar in a deep mixing bowl.
|
 12. Whisk whipping cream on highest speed until traces of beater marks begin to show.
|
 13. Gently fold whipped cream into yolk mixture until well combined.
|
 14. A thick and creamy but slightly runny tiramisu cream is ready.
|
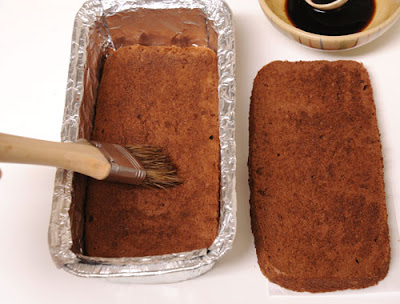 15. Trim off about 0.25-inch from each side of the cakes. By using a brush, dap the top of each layer of cakes with as much of strong coffee as possible, becareful not to drench the cakes.
|
 16. Align a layer of cake in the center of the lined cake pan. Then, pour half of the tiramisu cream over the cake. Swirl the cake pan to smoothen the cream if neccesary.
|
 17. Sift a layer of cocoa powder over the cream. Decide whether you want a thin or thick layer of cocoa powder.
|
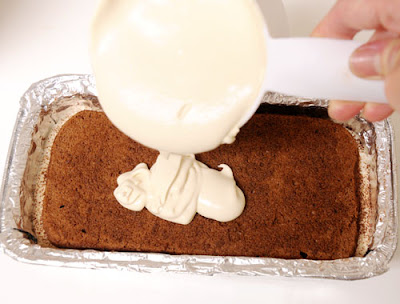 18. Continue with another layer of cake and tiramisu cream.
|
 19. Do not sift cocoa powder for the top most layer. Do it just before serving.
|
 20. Cover cake pan with aluminium foil. Refrigerate cake for at least 6 hours before serving.
|
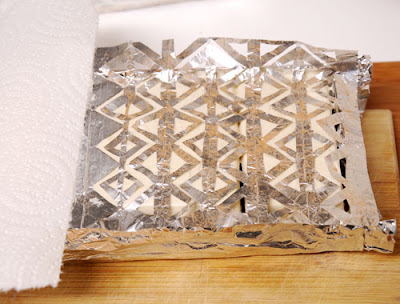 21. DIY a cake stencil by using aluminium foil or buy one if you like. Remove cake from pan. Place cake on a flat platter.
|
 22. Lightly press stencil on cake. Then sift cocoa powder as much as you like. Refrigerate cake, uncovered, for about 20 to 30 minutes. Remove stencil from cake. Cut cake into serving size. Decorate each piece of cake with chocolate decorations and serve.
|
|
|
